Posts Tagged ‘unparts’

Sold!

Monday, June 8th, 2009

I posted on Craigslist finally to try and sell the remaining engine parts. It generated a lot more interest than on the enthusiast website, surprisingly. I’m happy with the buyers and it seems the LT1 will get a good rebirth. The buyer of the block has plans for a 383 stroker for a Camaro. That was my alternative before decided to go electric – I know, a complete 180 – so it’s pretty awesome the block will go that route after all.

If you are budgeting to sell your ICE components, I wouldn’t plan on as much as you’d think. It took about 4 months and a firesale to move them.

Overall I think I netted about $120, so $100 to the wife to payoff the car parts in the living too, and that leaves me with a slew of tacos and quesadillas from Taco Bell.

The Big Weigh-In – November 15, 2008

Saturday, November 15th, 2008

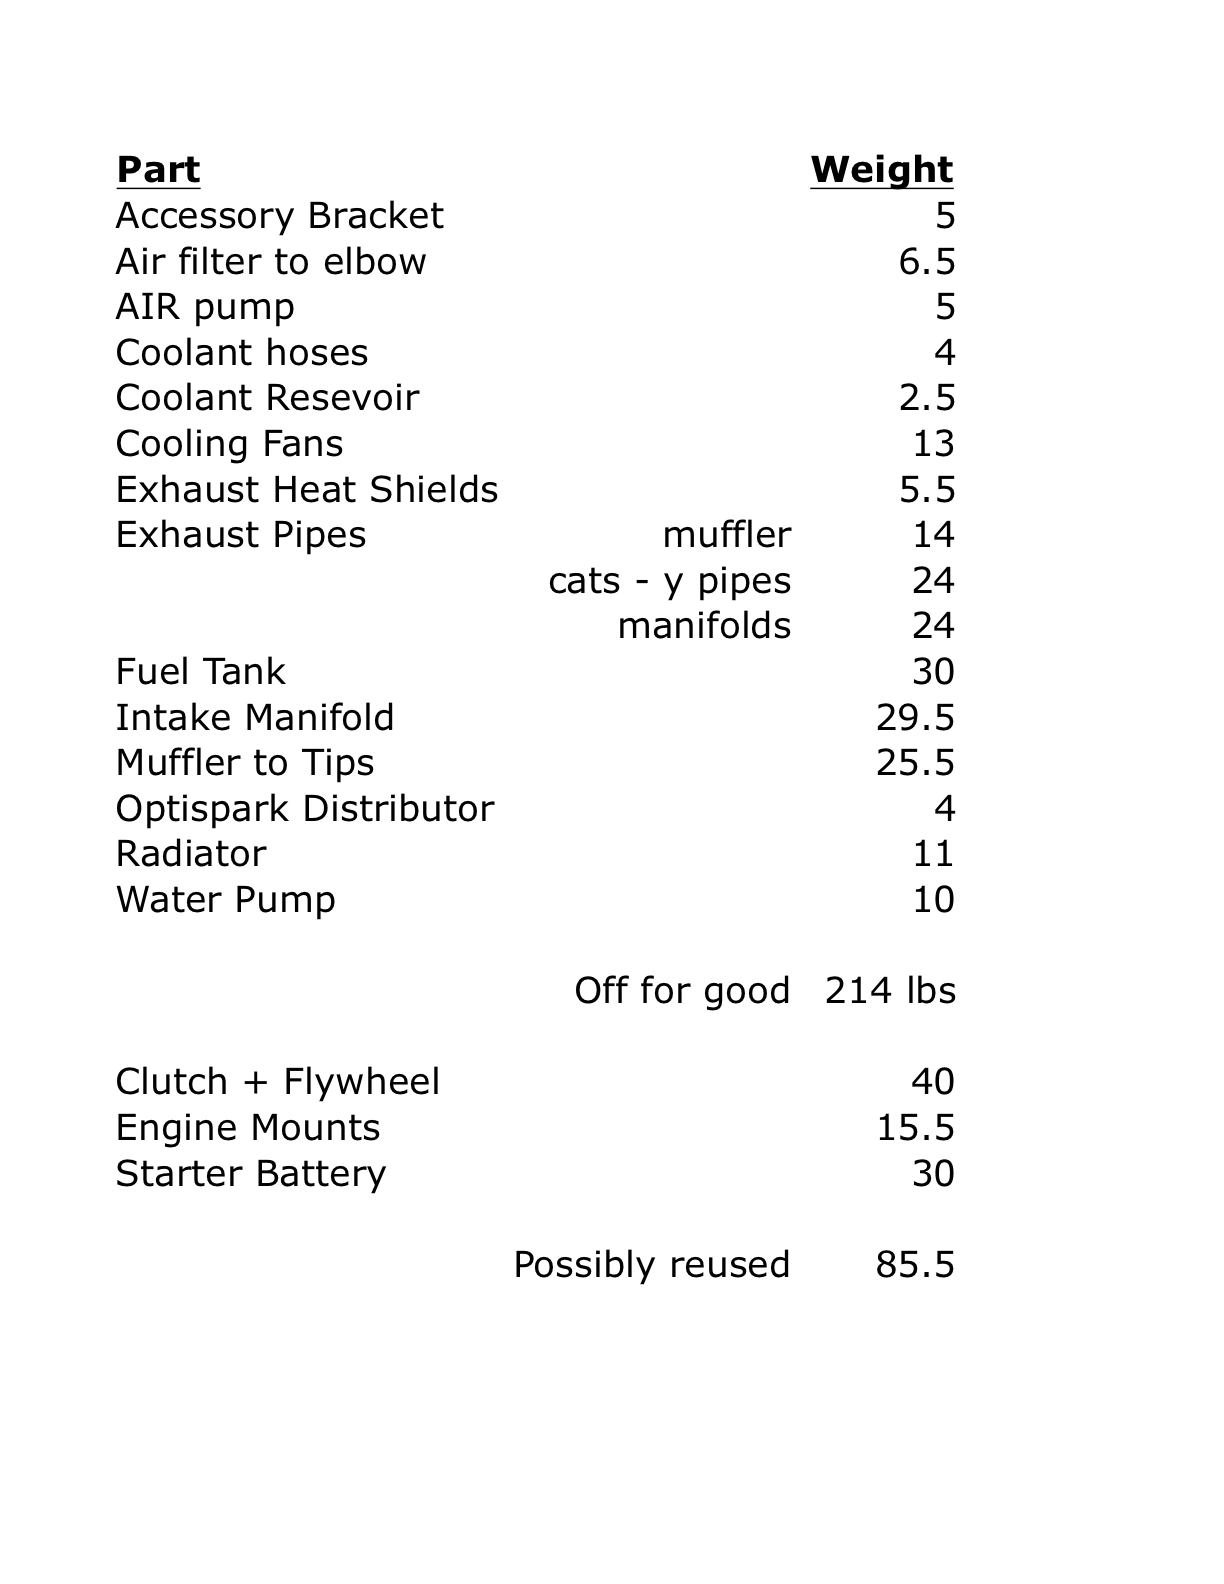
One of the goals is to remove as much as possible from the Trans Am to reduce weight. Since we had parts off and I’ll want to clear the garage soon, I got my brother to help weigh everything. Here is a list of all the parts and the weights.

Take That Engine Out!

Saturday, October 18th, 2008

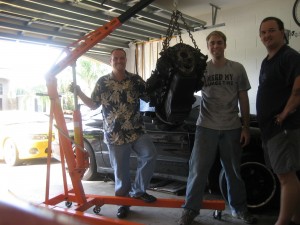
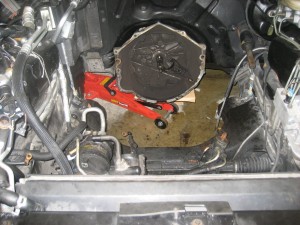
The engine is out!  Combination of jacking the transmission and removing the engine mounts from the frame and it came out relatively easy.  Jeff and Mike helped.  That sucker’s heavy.

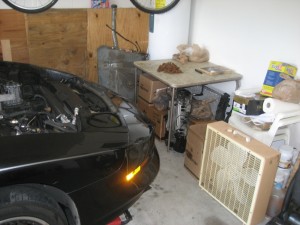
This is where the lift needs to go, where I neatly piled all my parts

This is where the lift needs to go, where I neatly piled all my parts

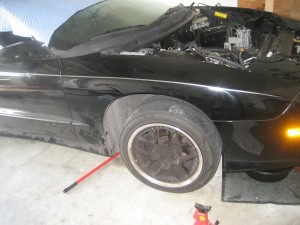
Actually we ended up putting the hoist around the front right tire (after moving all those parts).  We tried removing the tire but the jack was already supporting the engine so we couldn’t lift the car.  Neighbor Mike went to get his jack and while he was gone we worked on loosening the lug nuts.  Instead of loosening, the whole tire would twist, so we just turned the wheel to the left to give us the room we needed.

Take that El Guapo!

Take that El Guapo!

Excuse me, have you seen my engine?

Excuse me, have you seen my engine?

At this point the transmission was only supported by the jack and the mounts near the driveshaft.  I’ll remove the center console and support it from within the car with a pipe and a ratchet strap like I did when I changed the clutch (400 miles ago).

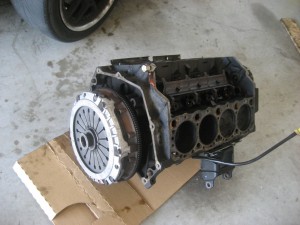
Here it is!  That clutch sure looks good.

Here it is! That clutch sure looks good.

October 10, 2008 – More Progress

Friday, October 10th, 2008

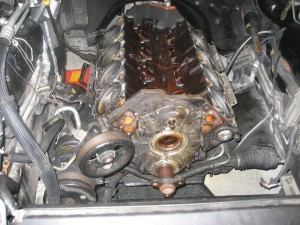
James came over this morning and helped take some more stuff apart.  Before he got here I drained the oil and removed the filter.  There were many metal sparkles in the oil – lovely!

We removed the passenger side cylinder head first.  I saved the hard bolts for James because it’s fun watching him put all his weight behind it to get it to budge.  We got the cylinder head off without too much difficulty, but it is held on by 17 bolts and to get to 4 of them we had to loosen 4 rocker arm bolts.

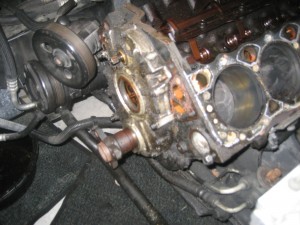
We removed the water pump, optispark distributor and crank pulley.  I forgot the trick on the crank pulley to put the jaws of the puller towards the inside instead of the outside.  Also, we had a 19 mm socket on the 17 mm bolt so for a while we weren’t even turning the screw on the puller.  I applied 350 lb-ft on the center bolt and rotated the engine a few times to watch all the rocker arms go on the passenger side and the pistons go up and down on the drivers side.
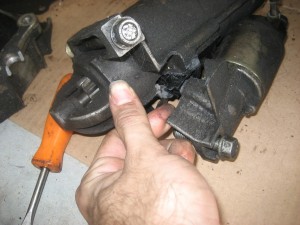
We also removed the starter.  It was cracked between the solenoid that engages the gears into the flywheel.  I guess because it was bolted in there so tight it kept working.
We removed the bellhousing the engine bolts.  The transmission is now supported by the tunnel brace and the jack under the front.

We lowered the car, removing both the jackstands from the front and the ramps from the rear wheels.  Now the car looks normal except for the hood on the roof and the exhaust under it.
Last was clean up.  I put as much of the intake and heads back together as I could and boxed everything else up according to future use.  Everything but the exhaust is neatly stored under the card table out of the way.

Next step – remove that engine!  I’m amazed at how big the engine bay looks now.  Hopefully plenty of batteries will fit in there.