Battery Racks
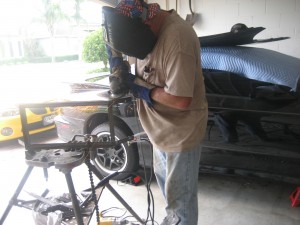
Mike the Fabricator (are you keeping track?) came by today and worked up the first of three battery racks. It turned out pretty well. It took several hours and it was hot today. Florida is even in a heat advisory. Fortunately wife went out to Publix and came back with a case of water and 2 – 64 oz of Gatorade. We about finished them off and ran the fridge out of ice, donchaknow. (We just watched “New in Town” where someone from Florida went to Minnesota during the winter. It was entertaining, and Harry Connick Jr. sure looked good with that beard.
So it was hot but we got a good amount done. I also cut and crimped 8 battery cables. That makes all of the side-by-side battery cables complete. I want to wait until we have the racks in so I can get a more accurate length for the long runs. Here are a couple of pictures from today.
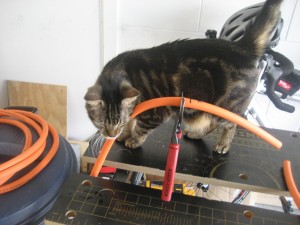
First I used my clamping table to force the handles of the cutter to close. 2/0 cable is pretty tough, so I got Louie the Cat to help.
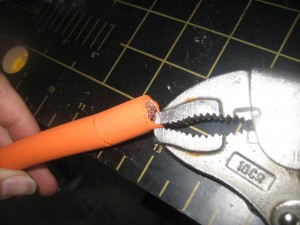
That was pretty difficult so I tried a hammer on the garage floor.
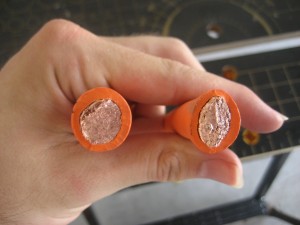
This picture shows the difference in ends from slowly cutting with the clamp and fast with the hammer. The hammer cut is on the left, slow clamping on the right. I liked the hammer better because it looks more symmetrical and left the tiny wires more at the same length. It was also easier and faster. Slowly cutting seemed to crush the wires into the middle.
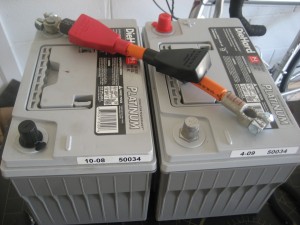
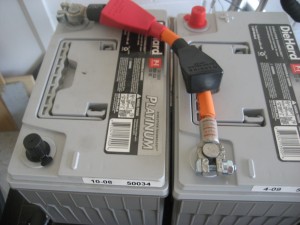
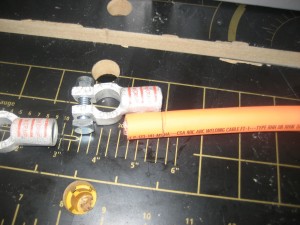
It is useful to test fit the orientation of the terminals with your actual battery layout. The 2/0 cable is flexible, but it is better to not make it twist over short distances if you don't have to.
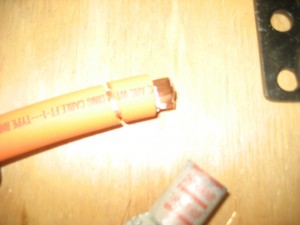
This is a trick I learned. Once you remove the outer sheath of the wire it wants to spread apart. You have to get all the tiny wires into the terminal so I realized that this smaller the length of exposed cable, the easier it would be to slip it into the lug.
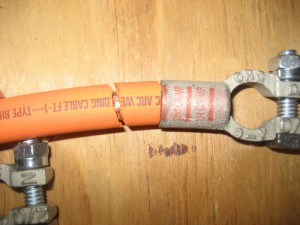
Slip the terminal over the still contained wires then use a razor to slice almost all the way through the cable on the side.
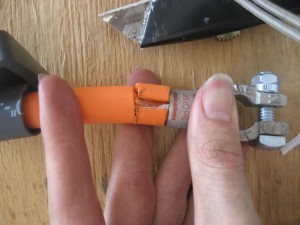
Hold the terminal in place and then peel the outer wrap off the cable. Slide the terminal all the way onto the cable and crimp.
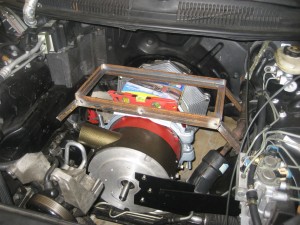
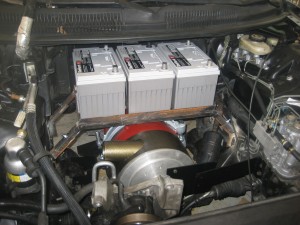
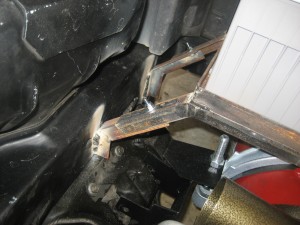
Here are a couple that show the battery rack being assembled.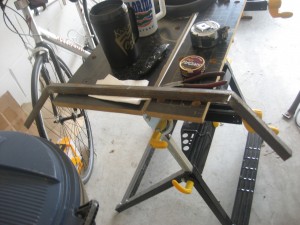
The rack is really two parts. First there are 4 lower arms that are welded to the frame for good. Then there is the actual box that is bolted to the 4 lower arms. This way the rack can be removed by yanking those 4 bolts if I ever need to pull the motor.
Tags: batteries
