Vacuum Pump Install
Today I installed the vacuum pump for the braking system. I ordered a kit to make it easy and am very impressed by it’s contents. I think the instructions could be a little more clear but overall it’s a good package.
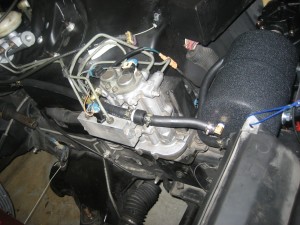
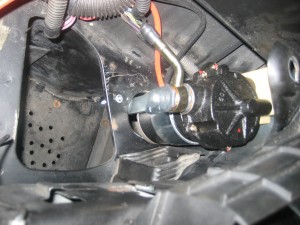
I chose to mount the pump in the vacancy left by the air filter box. This places it on the driver’s side, right in front of the ABS unit and the power brake booster. There was already an opening in the frame I could put the pump’s mount through, and also a hole adjacent that I used to bolt it down. I’m very happy to reuse existing holes and not cut up the Trans Am too much.
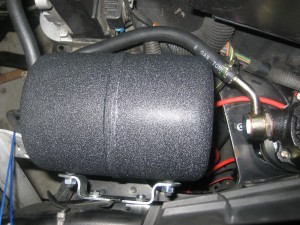
Mounting the reservior was a little more difficult. In that location there aren’t many flat surfaces large enough for the tank to reside. One location that looked promises was ruled out because of possible clearance issues once the hood is reinstalled. I ended up using that spot, but rotating the reservior by 90 degrees. This actually worked out better because the hose connections are able to point in the right direction without much hose bending.
I’m still thinking about the wiring. I need to access the positive battery which is on the other side of the car, but the cable connected to the motor isn’t long enough. If I keep the fuse and relay assembly under the reservior, I’ll need to add about 4 ft to the wiring harness for that connection. If I put the fuse and relay assembly near the battery, I’ll need to run 3 wires across the radiator support instead of only 1.
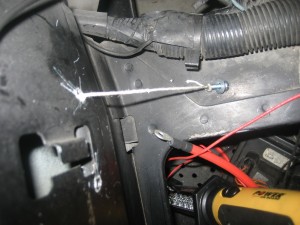
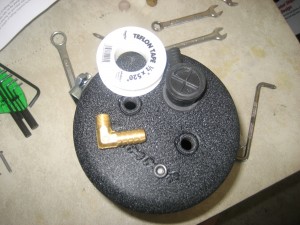
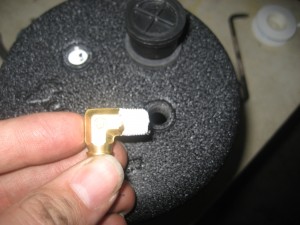
Here are some steps of the installation:
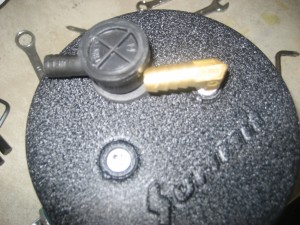
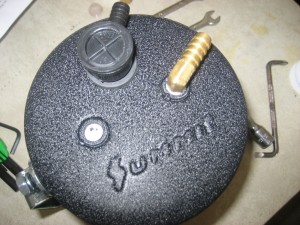
These are the remaining parts of the plumbing between the reservior and the brake booster: check valve then pressure sensor.
Tags: brakes
March 16th, 2009 at 3:09 pm
glad to see the progress you are making on the way to riding engine free!